
Photography Series: Beginner Guide to Cameras
When I first met Brandon, we were in a summer class together while we were both studying abroad in Italy. He always had a camera with him on campus - his big Nikon D7000 (at the time I had zero knowledge on cameras, but this one looked pretty official). One the first times we ever hung out, he put the camera in my hands and taught me a few things about it - how to frame my subject and how to change the aperture to get what I wanted into focus. I thought this was the coolest thing ever (partially because I liked him so much, partially because I always had wanted to learn how to shoot photography). Luckily for me, because of his love for cameras and photography, our entire relationship - the past 7 years - has been heavily documented with photos of our adventures together. In 2014, I had an idea to start a blog, and it wasn’t until then when my love for photography really started to take off. I learned so much about the camera, how to play around with the settings, composition and lighting, and after that - sorting and editing the images until I had a final product: a collection of photos edited and ready to share.
So after years of taking thousands of photos and falling in love with photography, I wanted to share that love by breaking down all that we have learned over the years in hopes to pass on the passion I have for photography. Whether you are a blogger wanting to shoot better street style photos, a mom wanting to capture better photos of your kids, or maybe you are just interested in taking great photos of whatever is happening around you - we have a little bit of something for everyone.
For this first installment of a multi-part photography series: I asked Brandon to help me put together a post on the basics of cameras as he is definitely the expert out of the two of us.

Hi there! Brandon here. This is always a challenging subject for many because, where do we even start?! I constantly hear questions like, what is the BEST camera? Why do I even need a camera when I have a smartphone? How do I get portrait mode out of my camera? Which end is the lens? The subject is highly debatable and not one with clear answers, but I’d like to lay my thoughts on the basics to get you started. From using your iPhone to getting started with a good introductory camera, I will touch on a few important topics to get you off on the right foot.
iPhone(/smartphone) Camera
In essence, a camera is a tool used to express our creative drive or to capture those moments of inspiration when the light seems to be coming into the room just right or cutting through the trees just so. In that way, the old saying is best -- ‘The best camera for you is the one that happens to be on you’. Nine times out of ten, that ends up being our oversized iPhones. While we personally would prefer to use our mirrorless digital cameras, the window of inspiration with a wriggling kiddo is very small! And these days, since we print less in large format and we tend to share digitally in ‘small’ format on blogs and social media platforms, there is less of a need for many to even own an expensive camera that may just sit on the shelf and go unused. Use the camera on your mobile device! It’s incredible how far we’ve come and that you’ve got this high-powered camera that can slide into your pocket or purse. Plus, it’s easy to edit directly in your phone and your photos are already in your phone’s album. (Meg will get into detail on editing - both on your iPhone and in Lightroom, later on in the series)
...upgrading from iPhone to digital camera
Camera brands to consider when starting out:
Mirrorless:
Olympus/Panasonic -- wide variety of bodies and cheap/light lenses. Seem to be leading the mirrorless revolution and you can get a great bang for your buck under $1,000
Sony -- leader in full-frame bodies, excellent image/video quality; not quite as many lenses. You will more than likely spend well over $2,000 when all is said and done
DSLR:
Nikon -- Love the brand, best lens glass on the market, wide range of starting points
Canon -- Set the standard with the 5D series, larger lenses and large investment
Point-and-shoots:
I would normally say don’t bother, but consider the options from Sony (RX100) or Canon, particularly if you’re into vlogging or shooting video. If you don’t want to spend $600-1,000 on a point-and-shoot, just use the fantastic cameras on most of our modern smartphones.
Mirrorless vs. DSLR:
Just a quick note on the distinction between a Mirrorless or Micro Four Thirds (MFT or M4/3) camera and a Digital Single-Lens Reflex (DSLR) camera. Mirrorless is a newer technology than DSLRs that removes the physical mirror in the camera body allowing the bodies to be smaller, lighter and sometimes quicker than standard DSLRs. We personally love the smaller and less expensive lenses that accompany the mirrorless format and have enjoyed being able to carry two bodies and 2-3 lenses on a shoot while still feeling very mobile. While you’ll certainly be paying a premium, companies like Sony are leading the charge with development of professional full-frame mirrorless cameras that also have extraordinary 4K video capabilities.
Cameras WE use
We currently use the Olympus OM-D E-M1 and it’s smaller sibling, the Olympus OM-D E-M10. The E-M1 is a pro-level (albeit crop-sensor) camera, while the I picked up our second body, the E-M10, on sale before our honeymoon. Although the E-M10 is a more introductory camera, I had several friends ask about cameras but didn’t want to spend over $1,000 on gear, so the EM-10 is a great option that won't break the bank. I’ve found the E-M1 to be a fantastic camera with every possible setting I could need, but the E-M10 to be equally sufficient for most situations where good light and mustered inspiration are not an issue. These camera bodies are light, easy to handle for both Meg and I, and don’t attract a whole lot of attention when out on the street or dangling off my shoulder on a subway. This element of discreteness is much appreciated, as we’re most often found shooting in public places, or sneaking shots of our son without trying to shove enormous camera bodies and lenses in his cute little face. Overall, we’ve been quite pleased.
Lenses
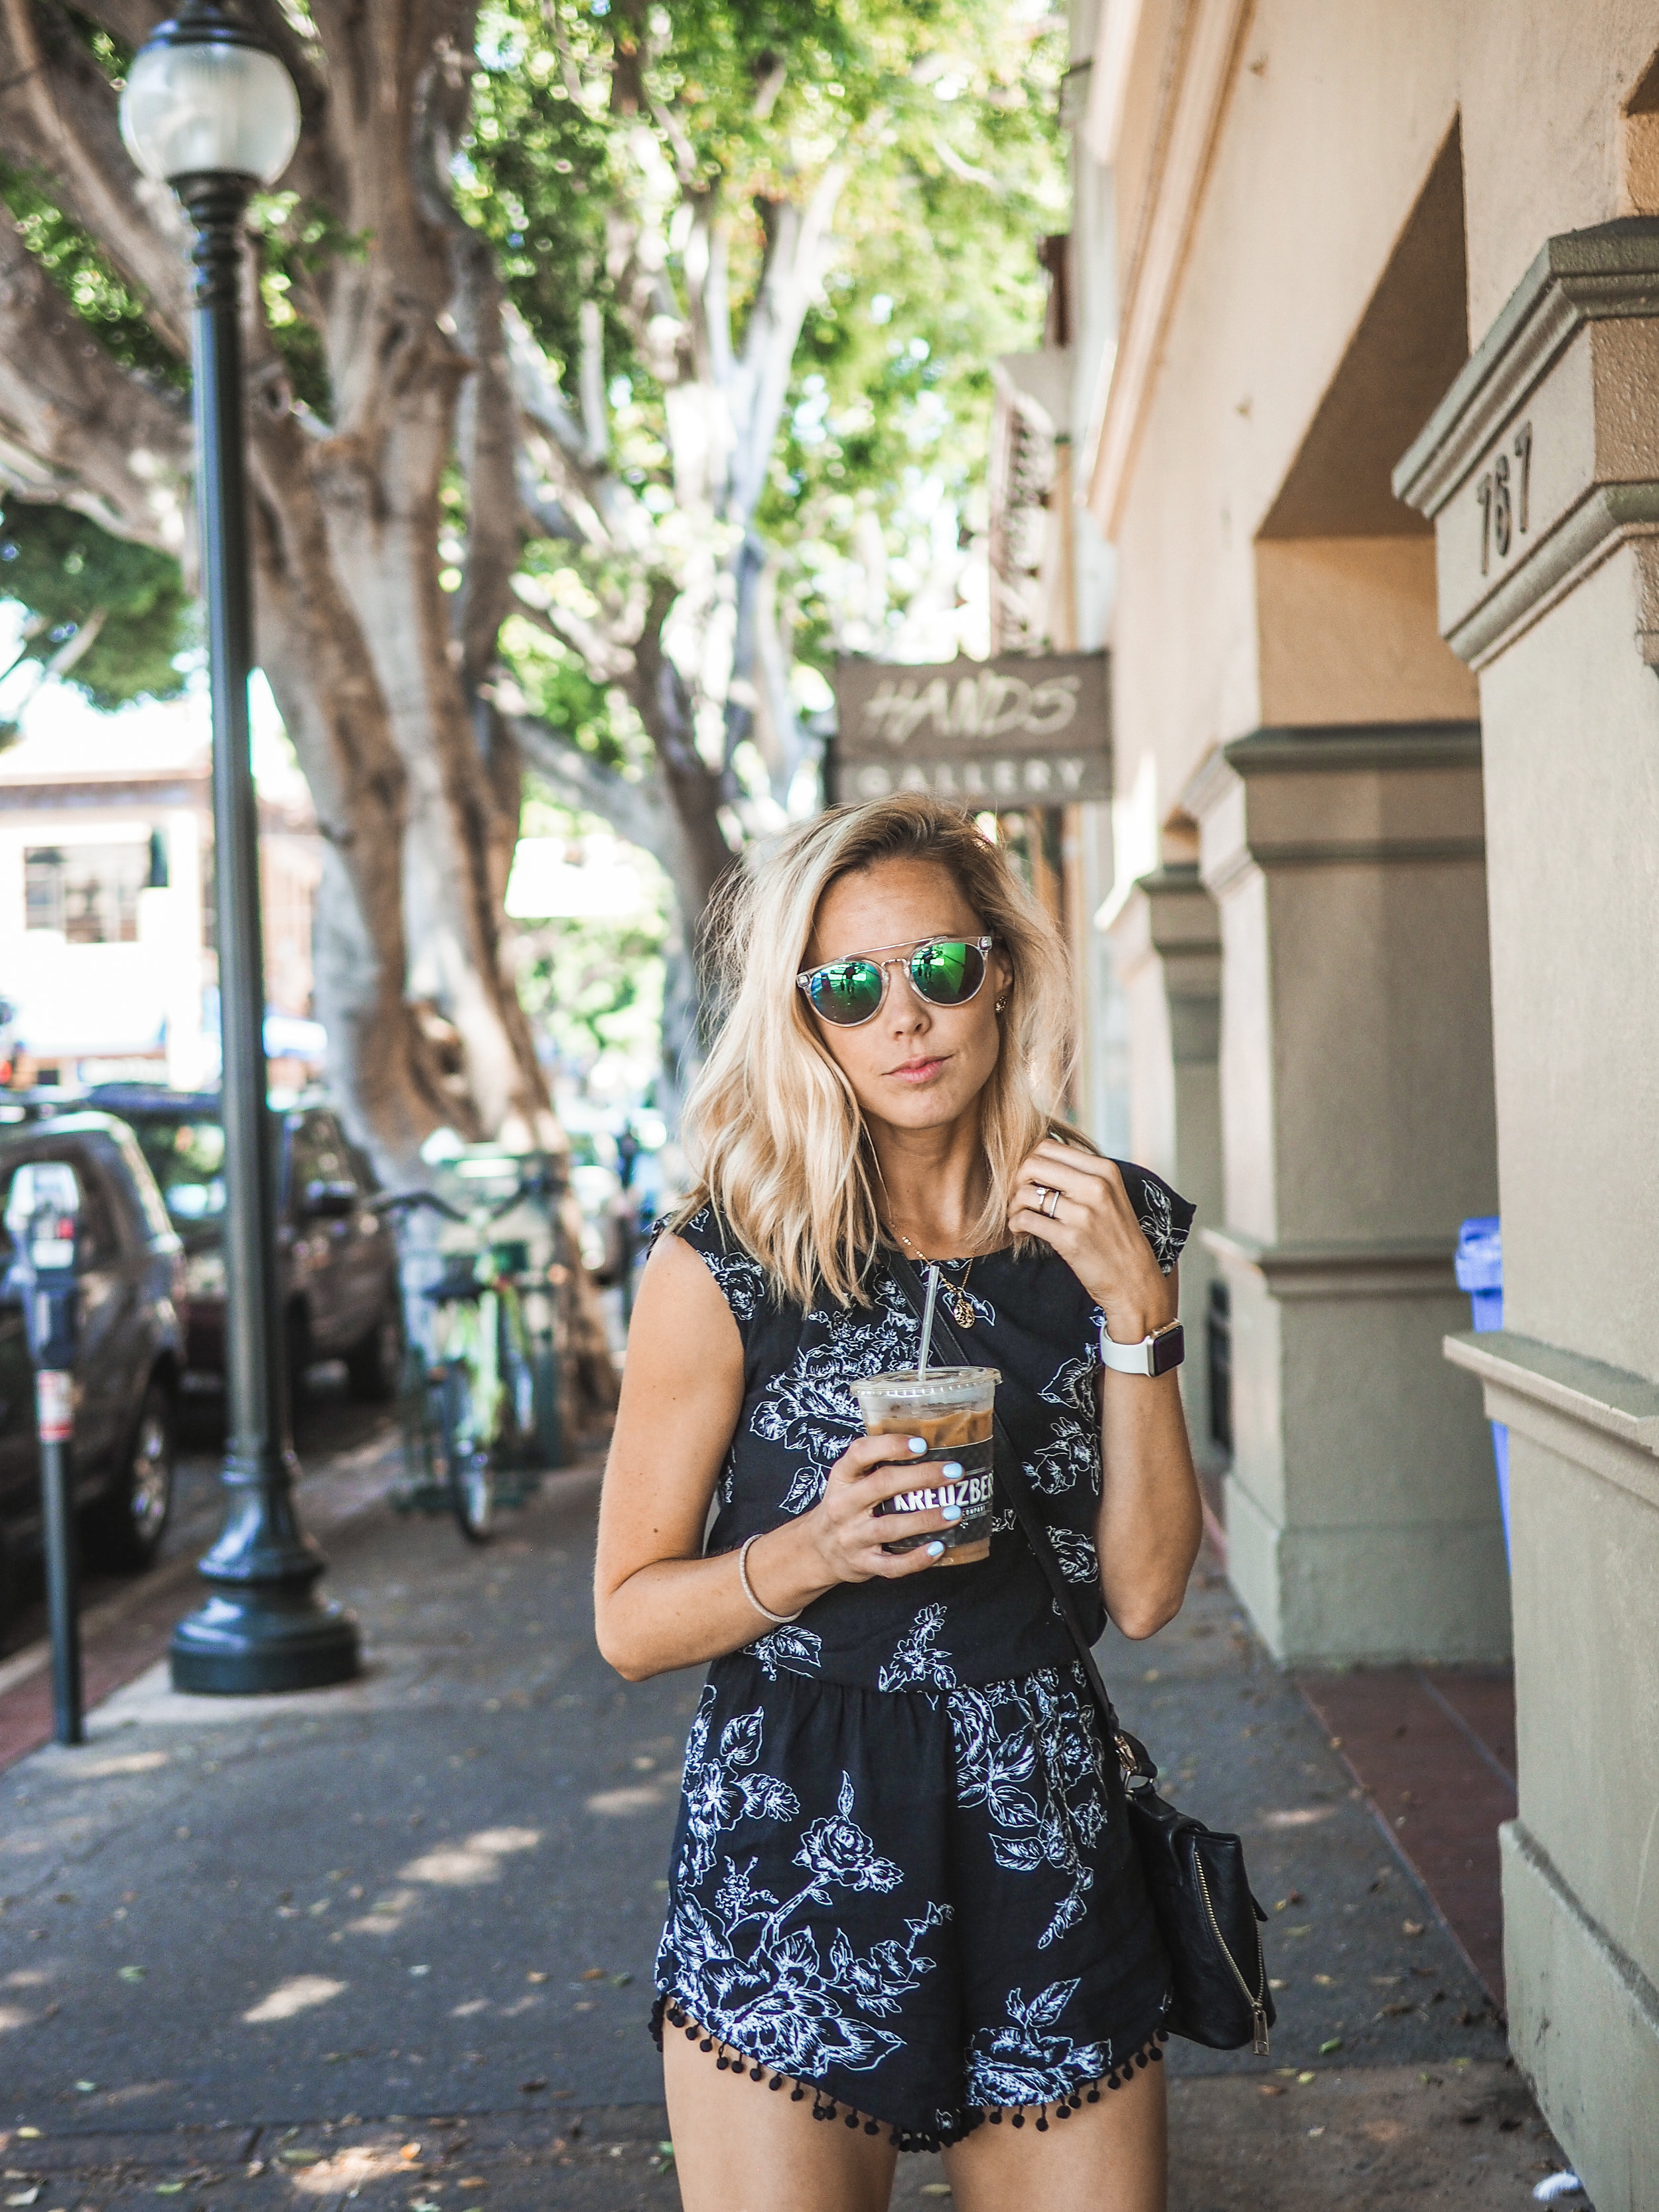
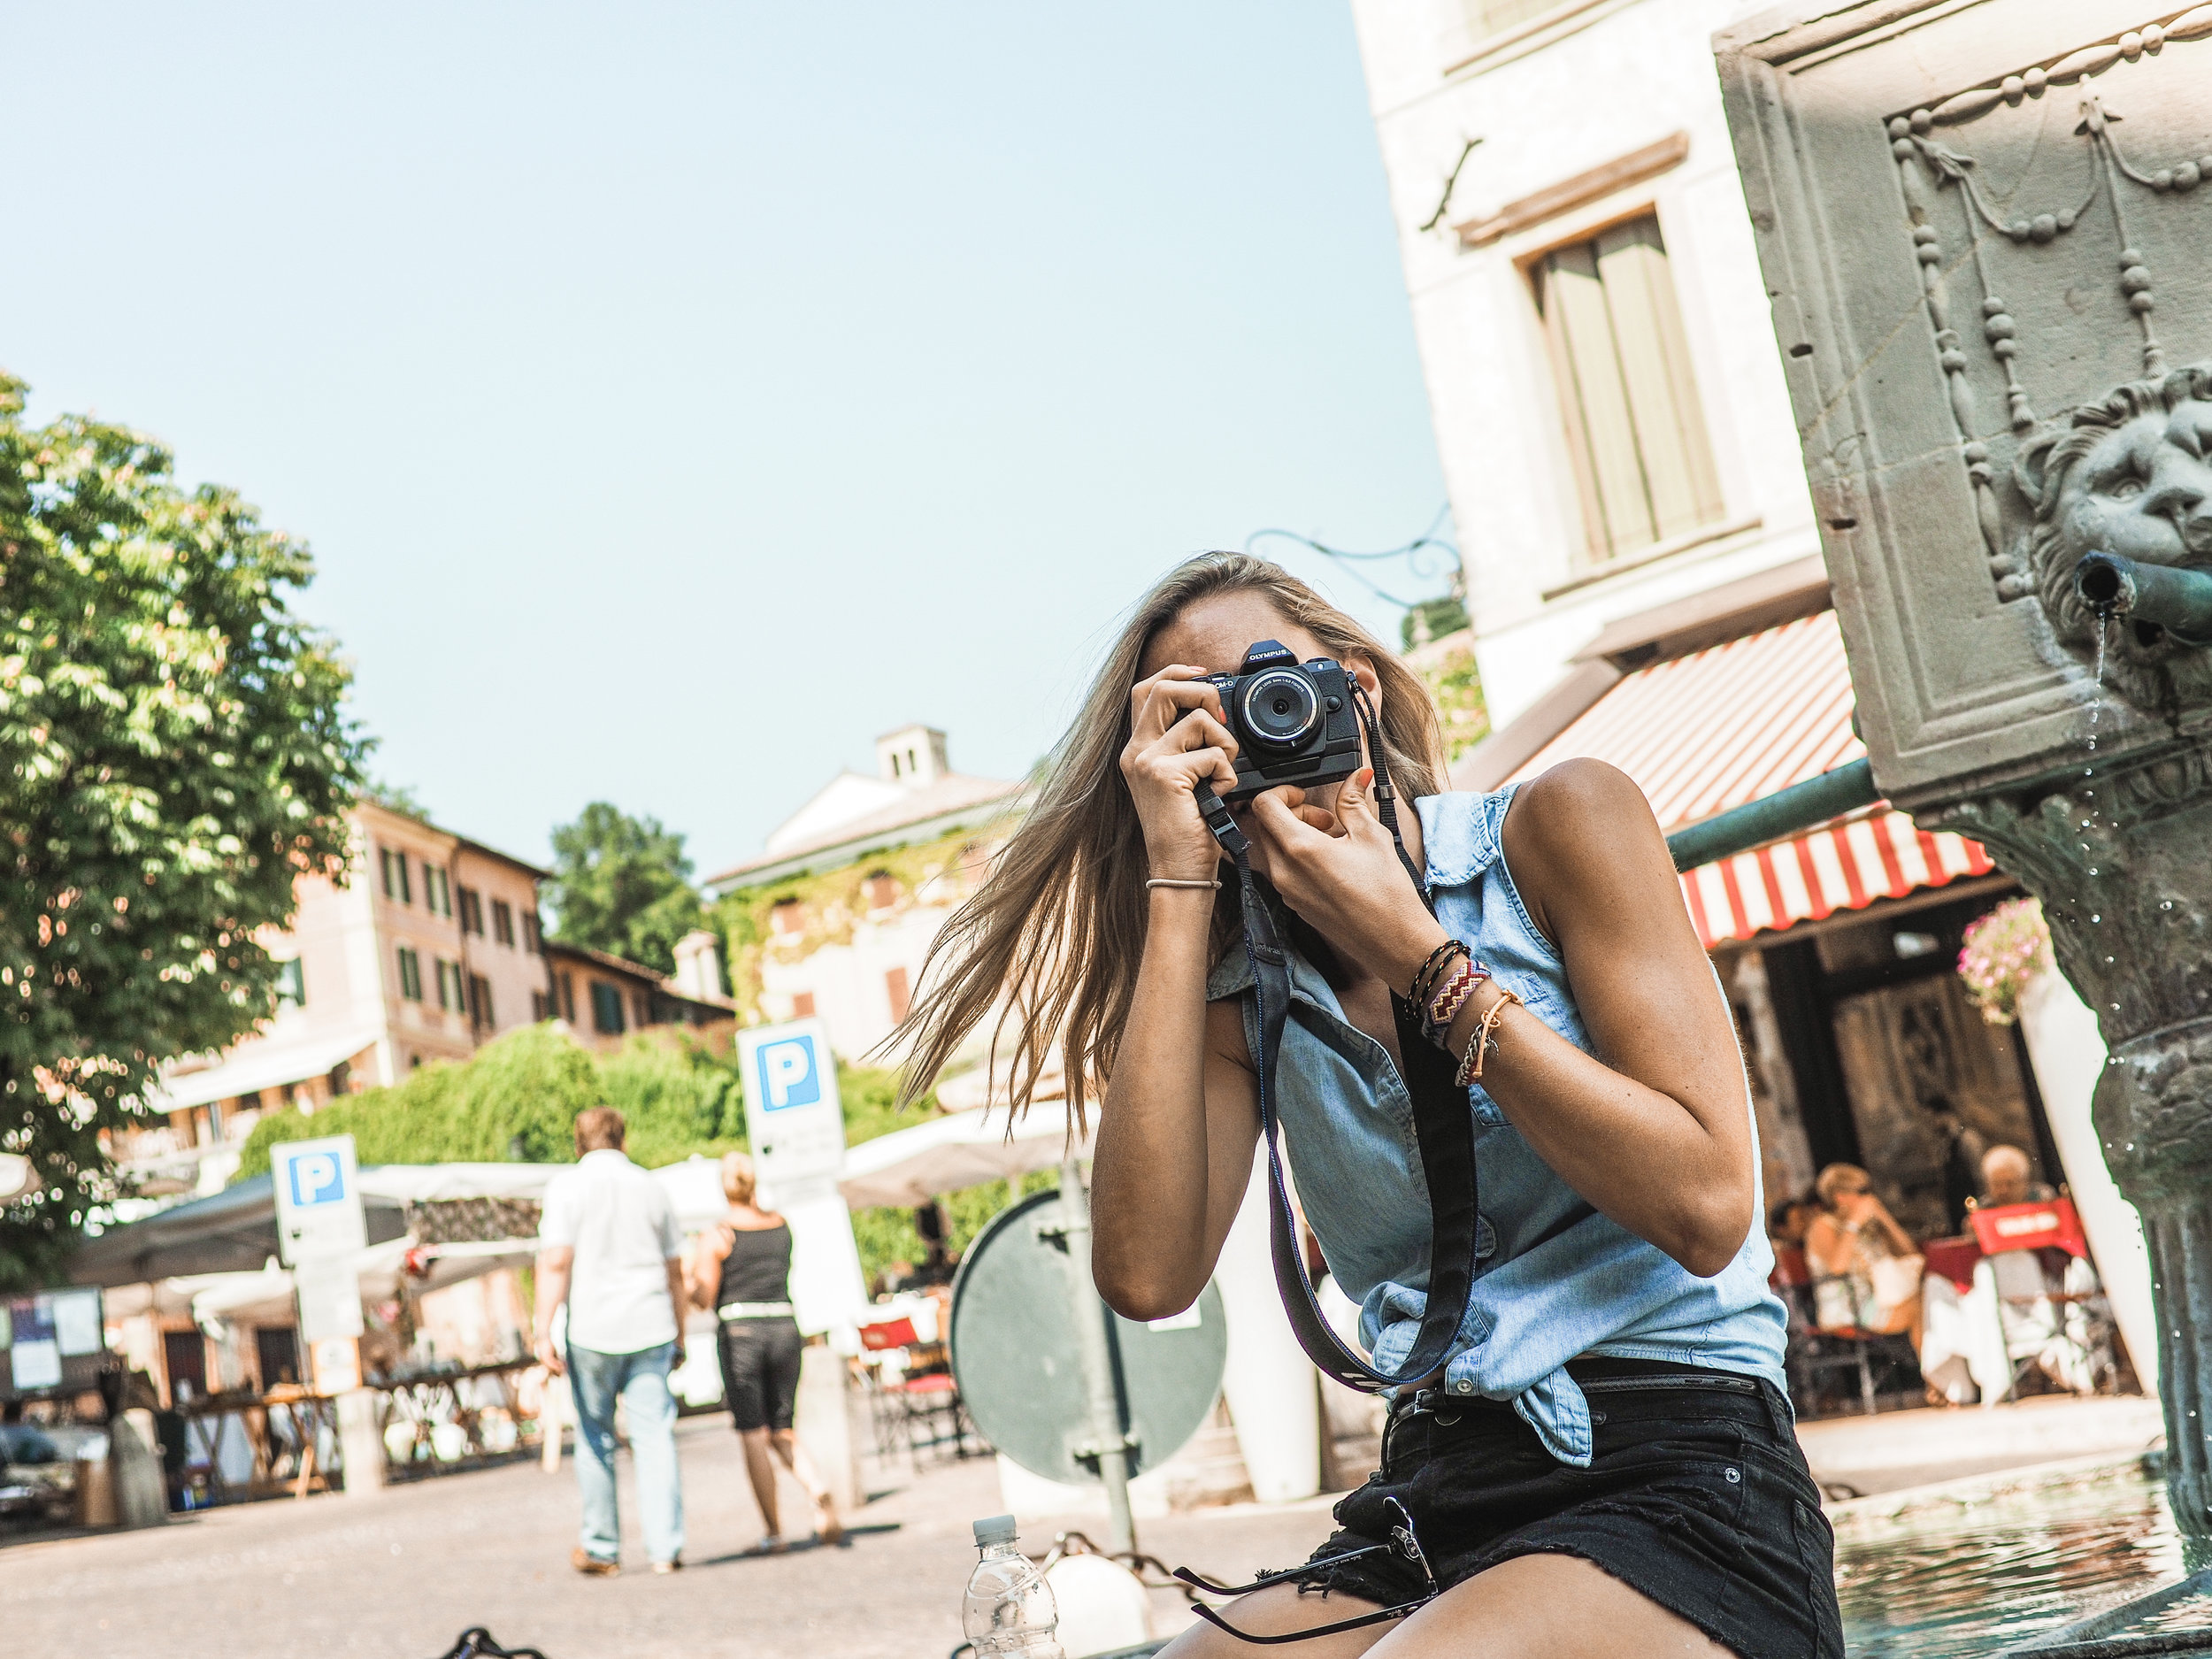
Lens choices are critical if you’re just getting into photography. Most people want to focus on the body because the camera marketing departments make it so. The reality is that through years of playing with all sorts of different lenses, a few things have held true. 80% of the time, I have a Panasonic Leica Summilux DG 25mm f/1.4 prime lens attached to the E-M1. This is a superb lens with as much sharpness and bokeh (the blurry subject isolation effect) as I need and serves me well as a reasonable portrait lens and everyday street shooter. 15% of the time I use the Olympus 45mm f/1.8 prime lens for exclusively portrait shots again due to excellent sharpness, bokeh and allowing for close-up portraits when I know I’ll have the room to move. The other 5% of the time, I either play with an Olympus 8mm fisheye lens for fun wide angle shots, or an Olympus 14-150mm f/4.0-5.6 II zoom lens when I need the flexibility of a zoom and can’t move my own feet. I prefer using prime lenses (fixed lens-no zoom function) and recommend at least one to everyone (either a 35mm or 50mm) to learn how to move WITH your camera instead of relying on zoom. Additionally, with less moving parts, lens makers are more inclined to invest in good glass and parts inside of the prime lenses which results in a superb end product even when fixed to a mid-level body.
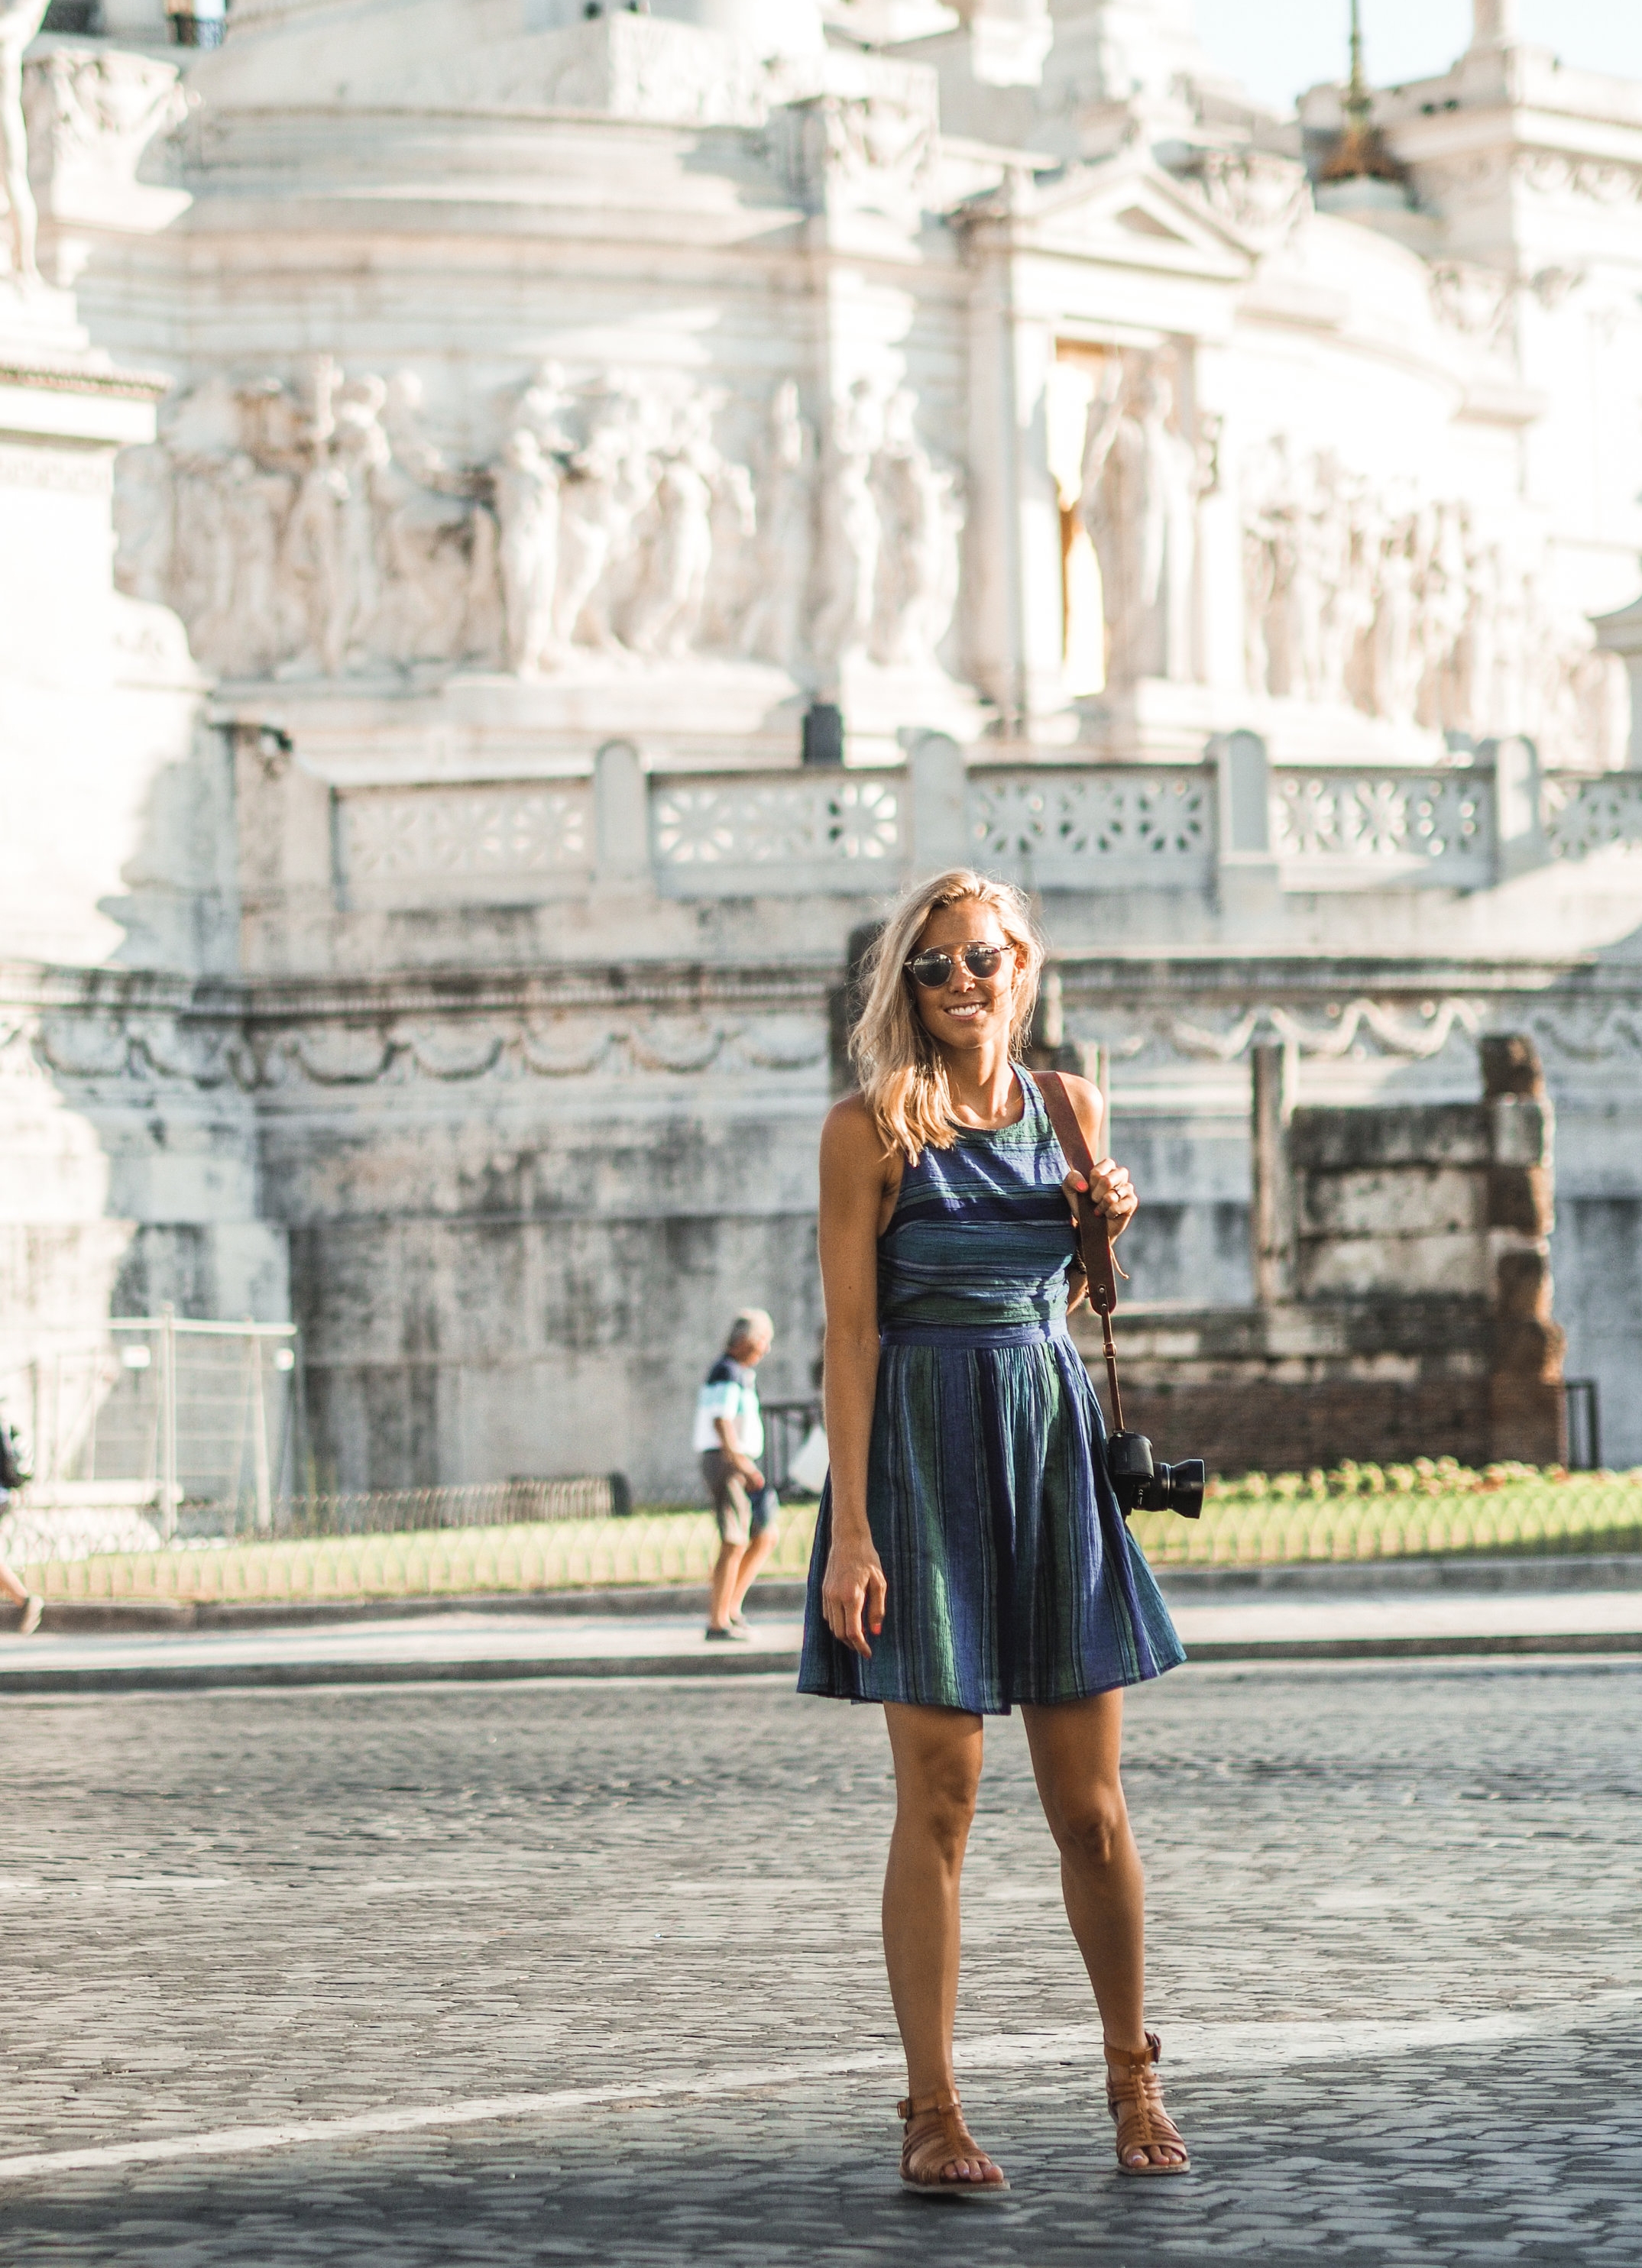
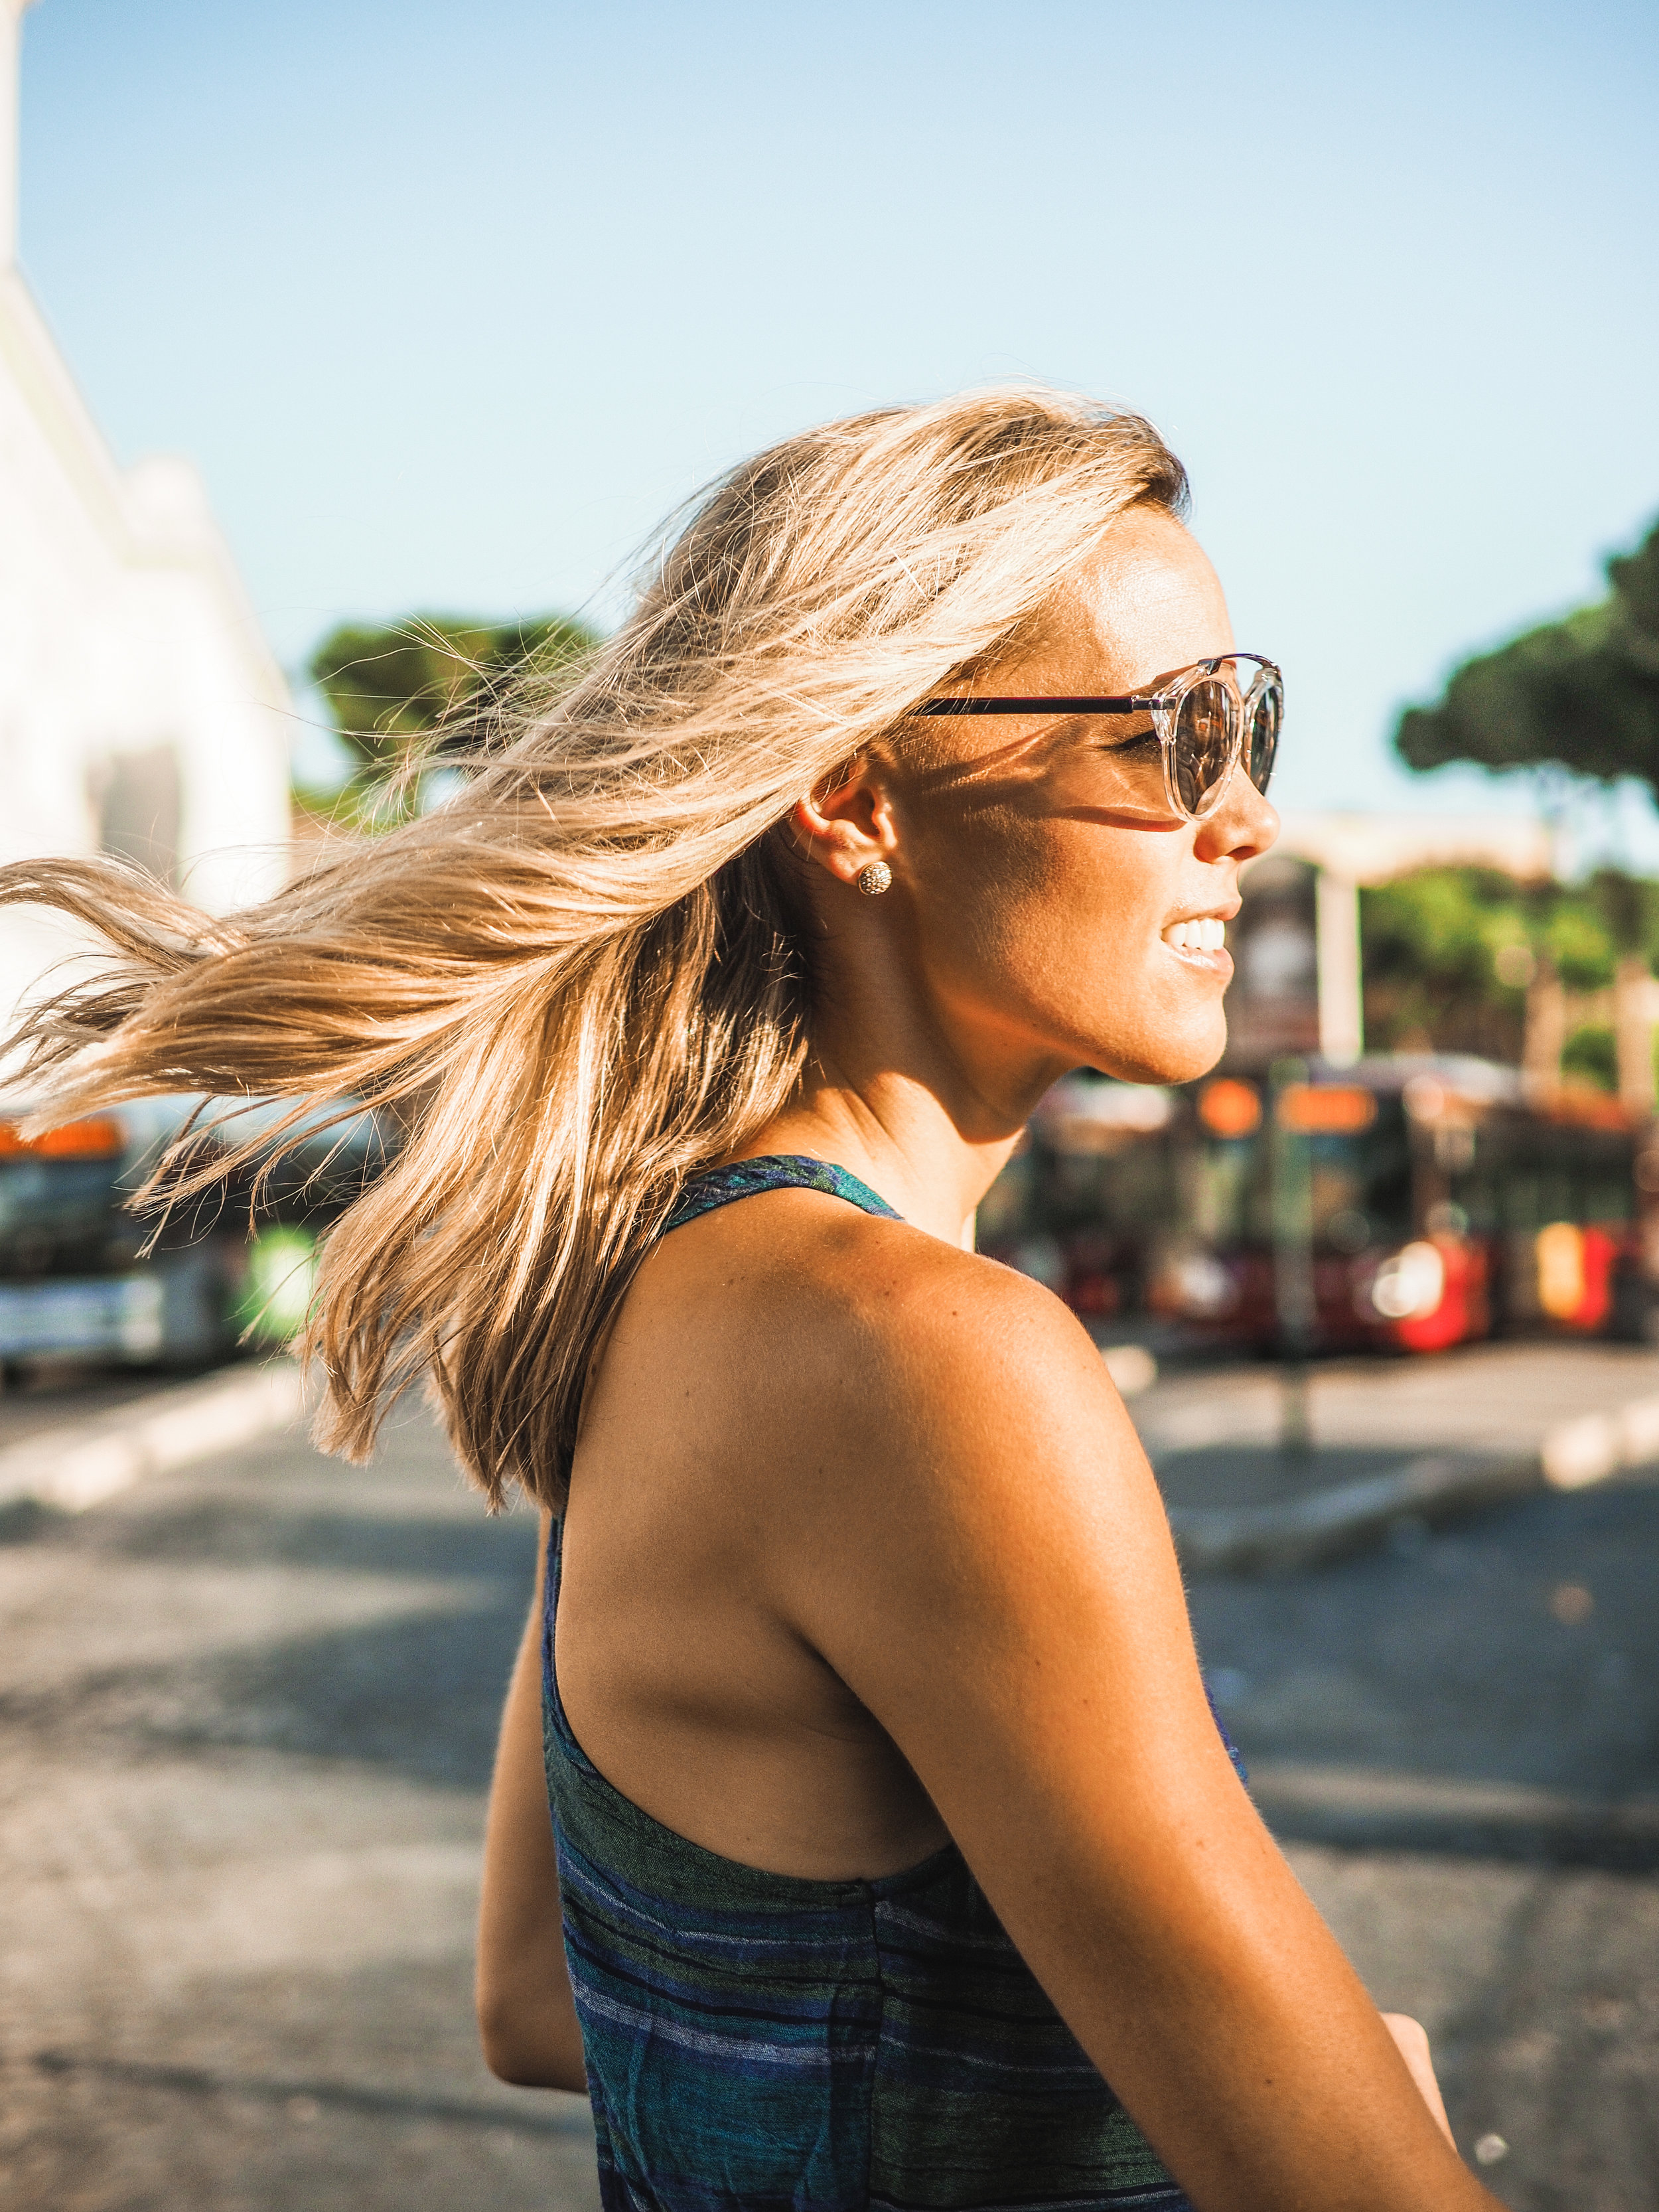
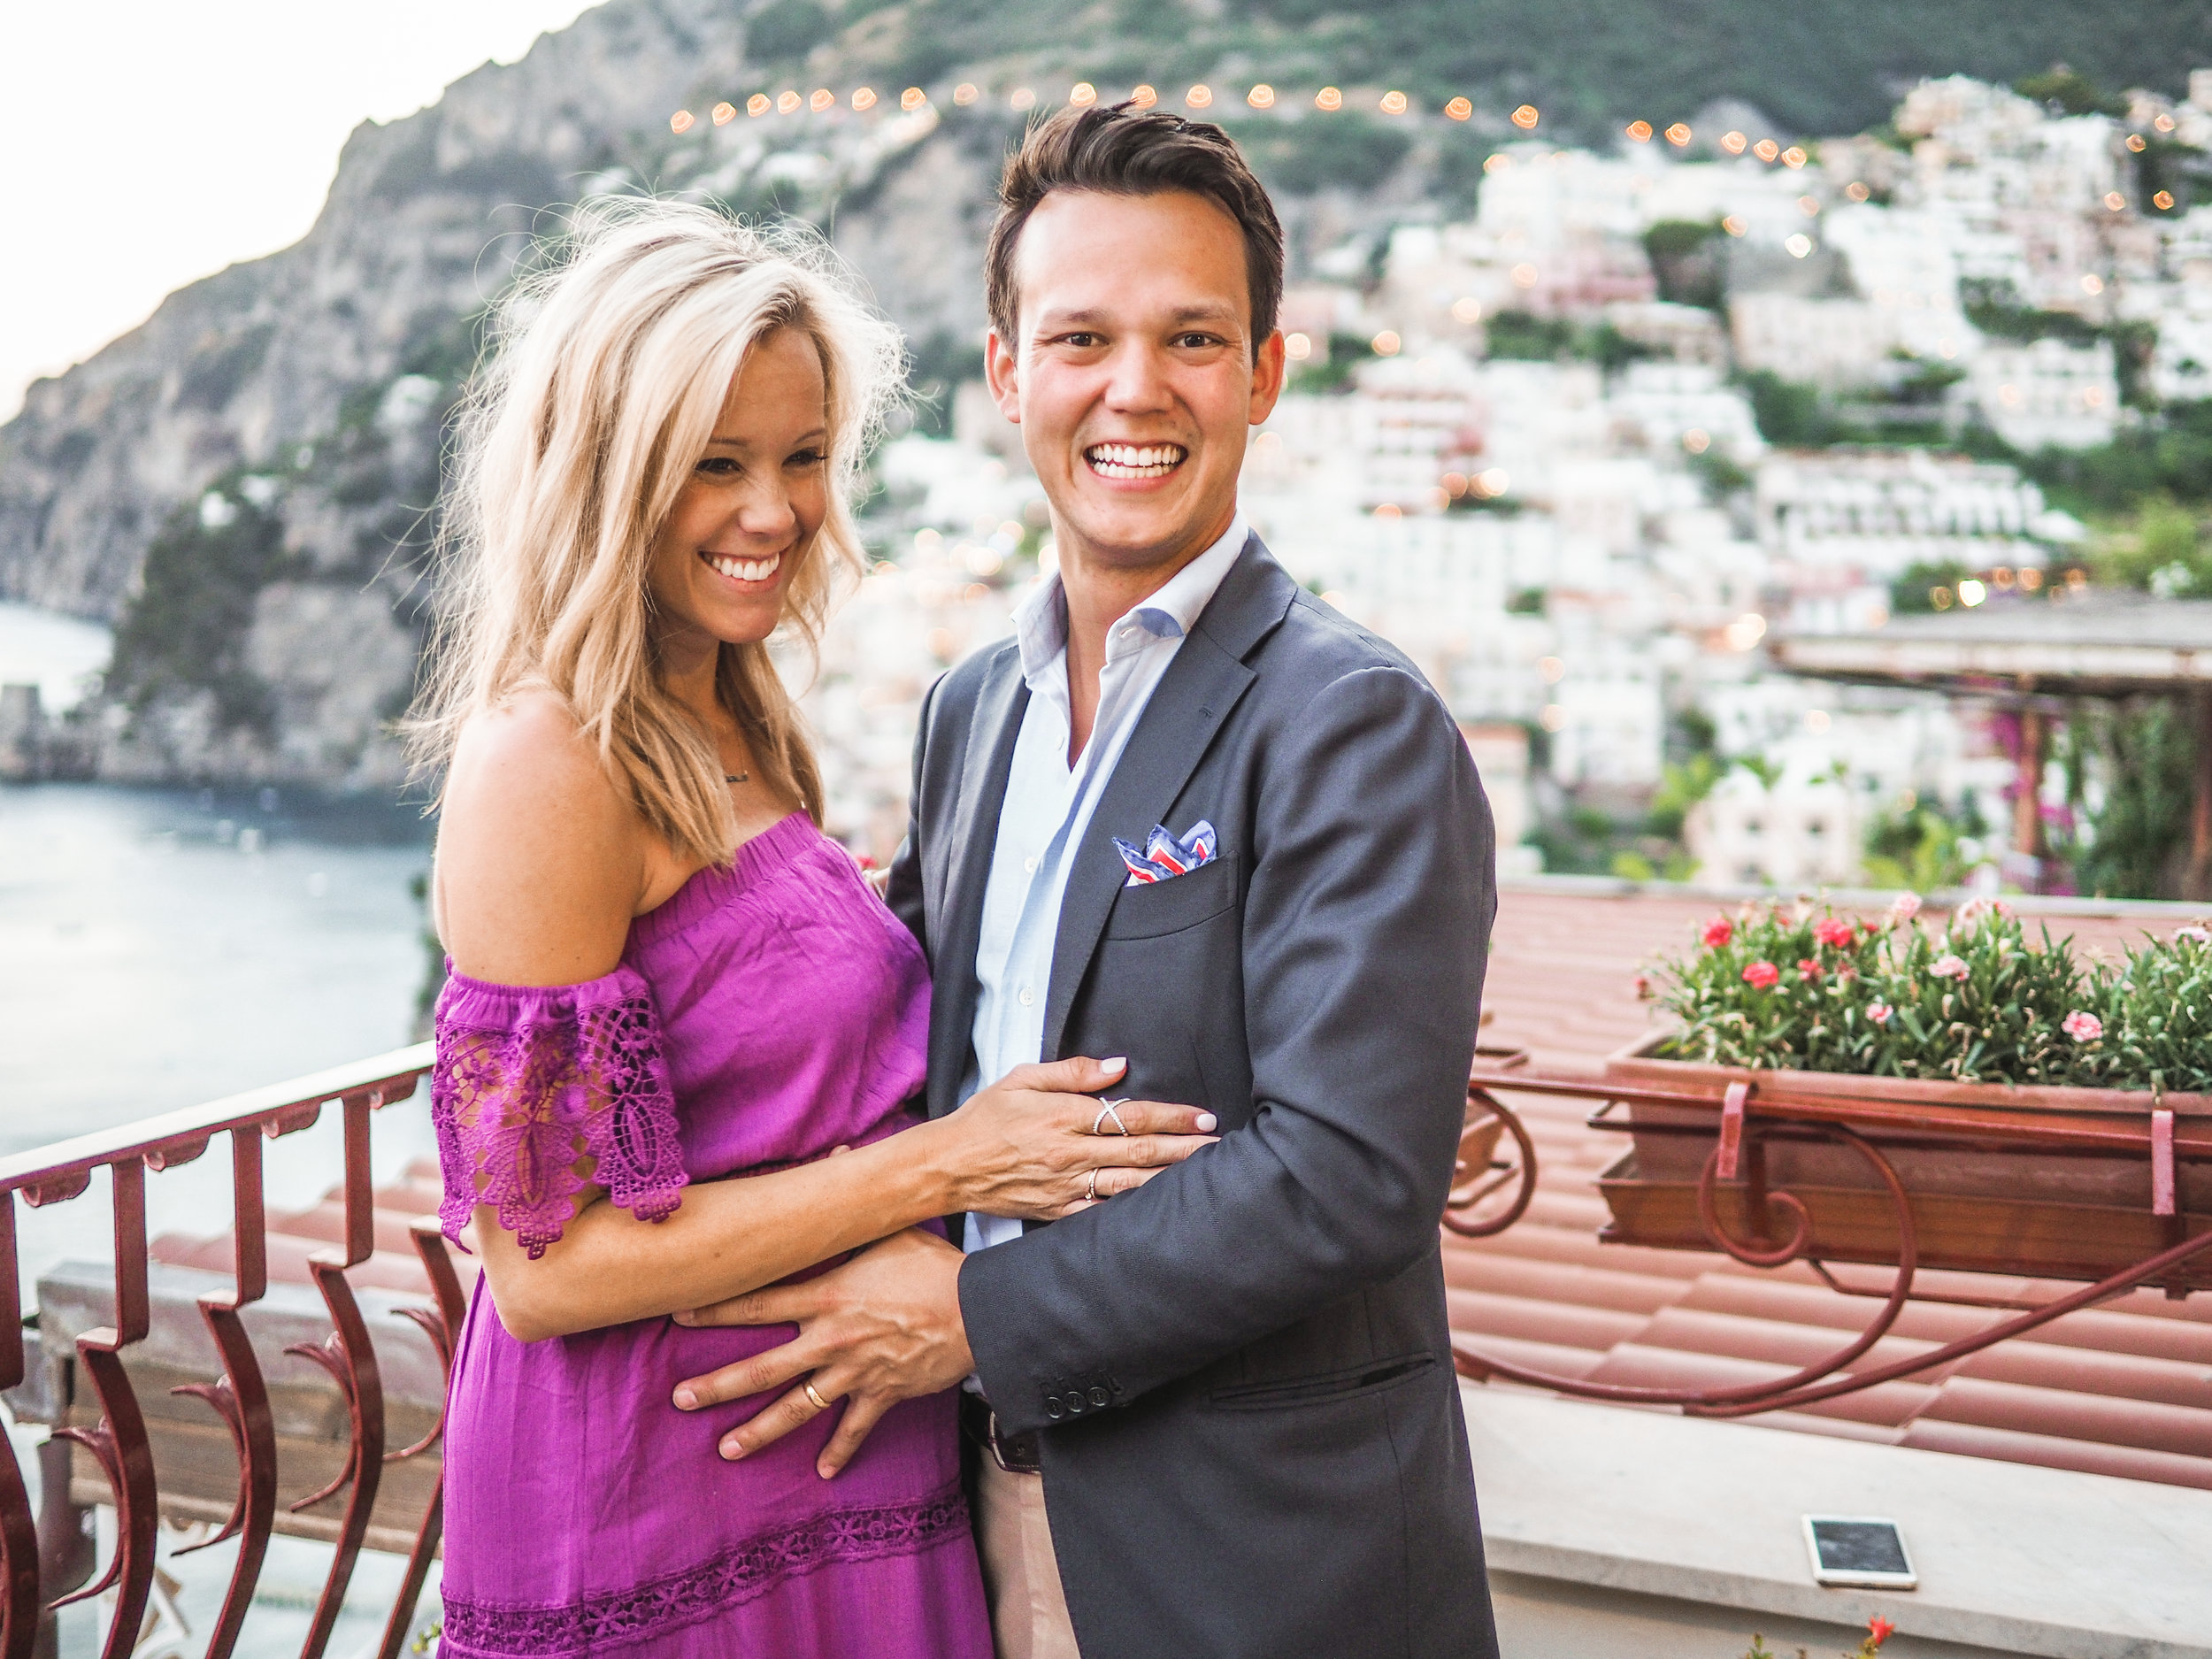
Above you have an example on the left taken with our Leica Summilux DG 25mm lens - Meg, our subject is completely in focus, and the building behind her is less so, but still can make out the building and statues on the building. On the right is an example taken on our Olympus 45mm lens. In this photo, you can see that the background is much less in focus and the enhanced focal length isolates our subject much tighter - as a result, the bokeh effect is very substantial and great for portaits.

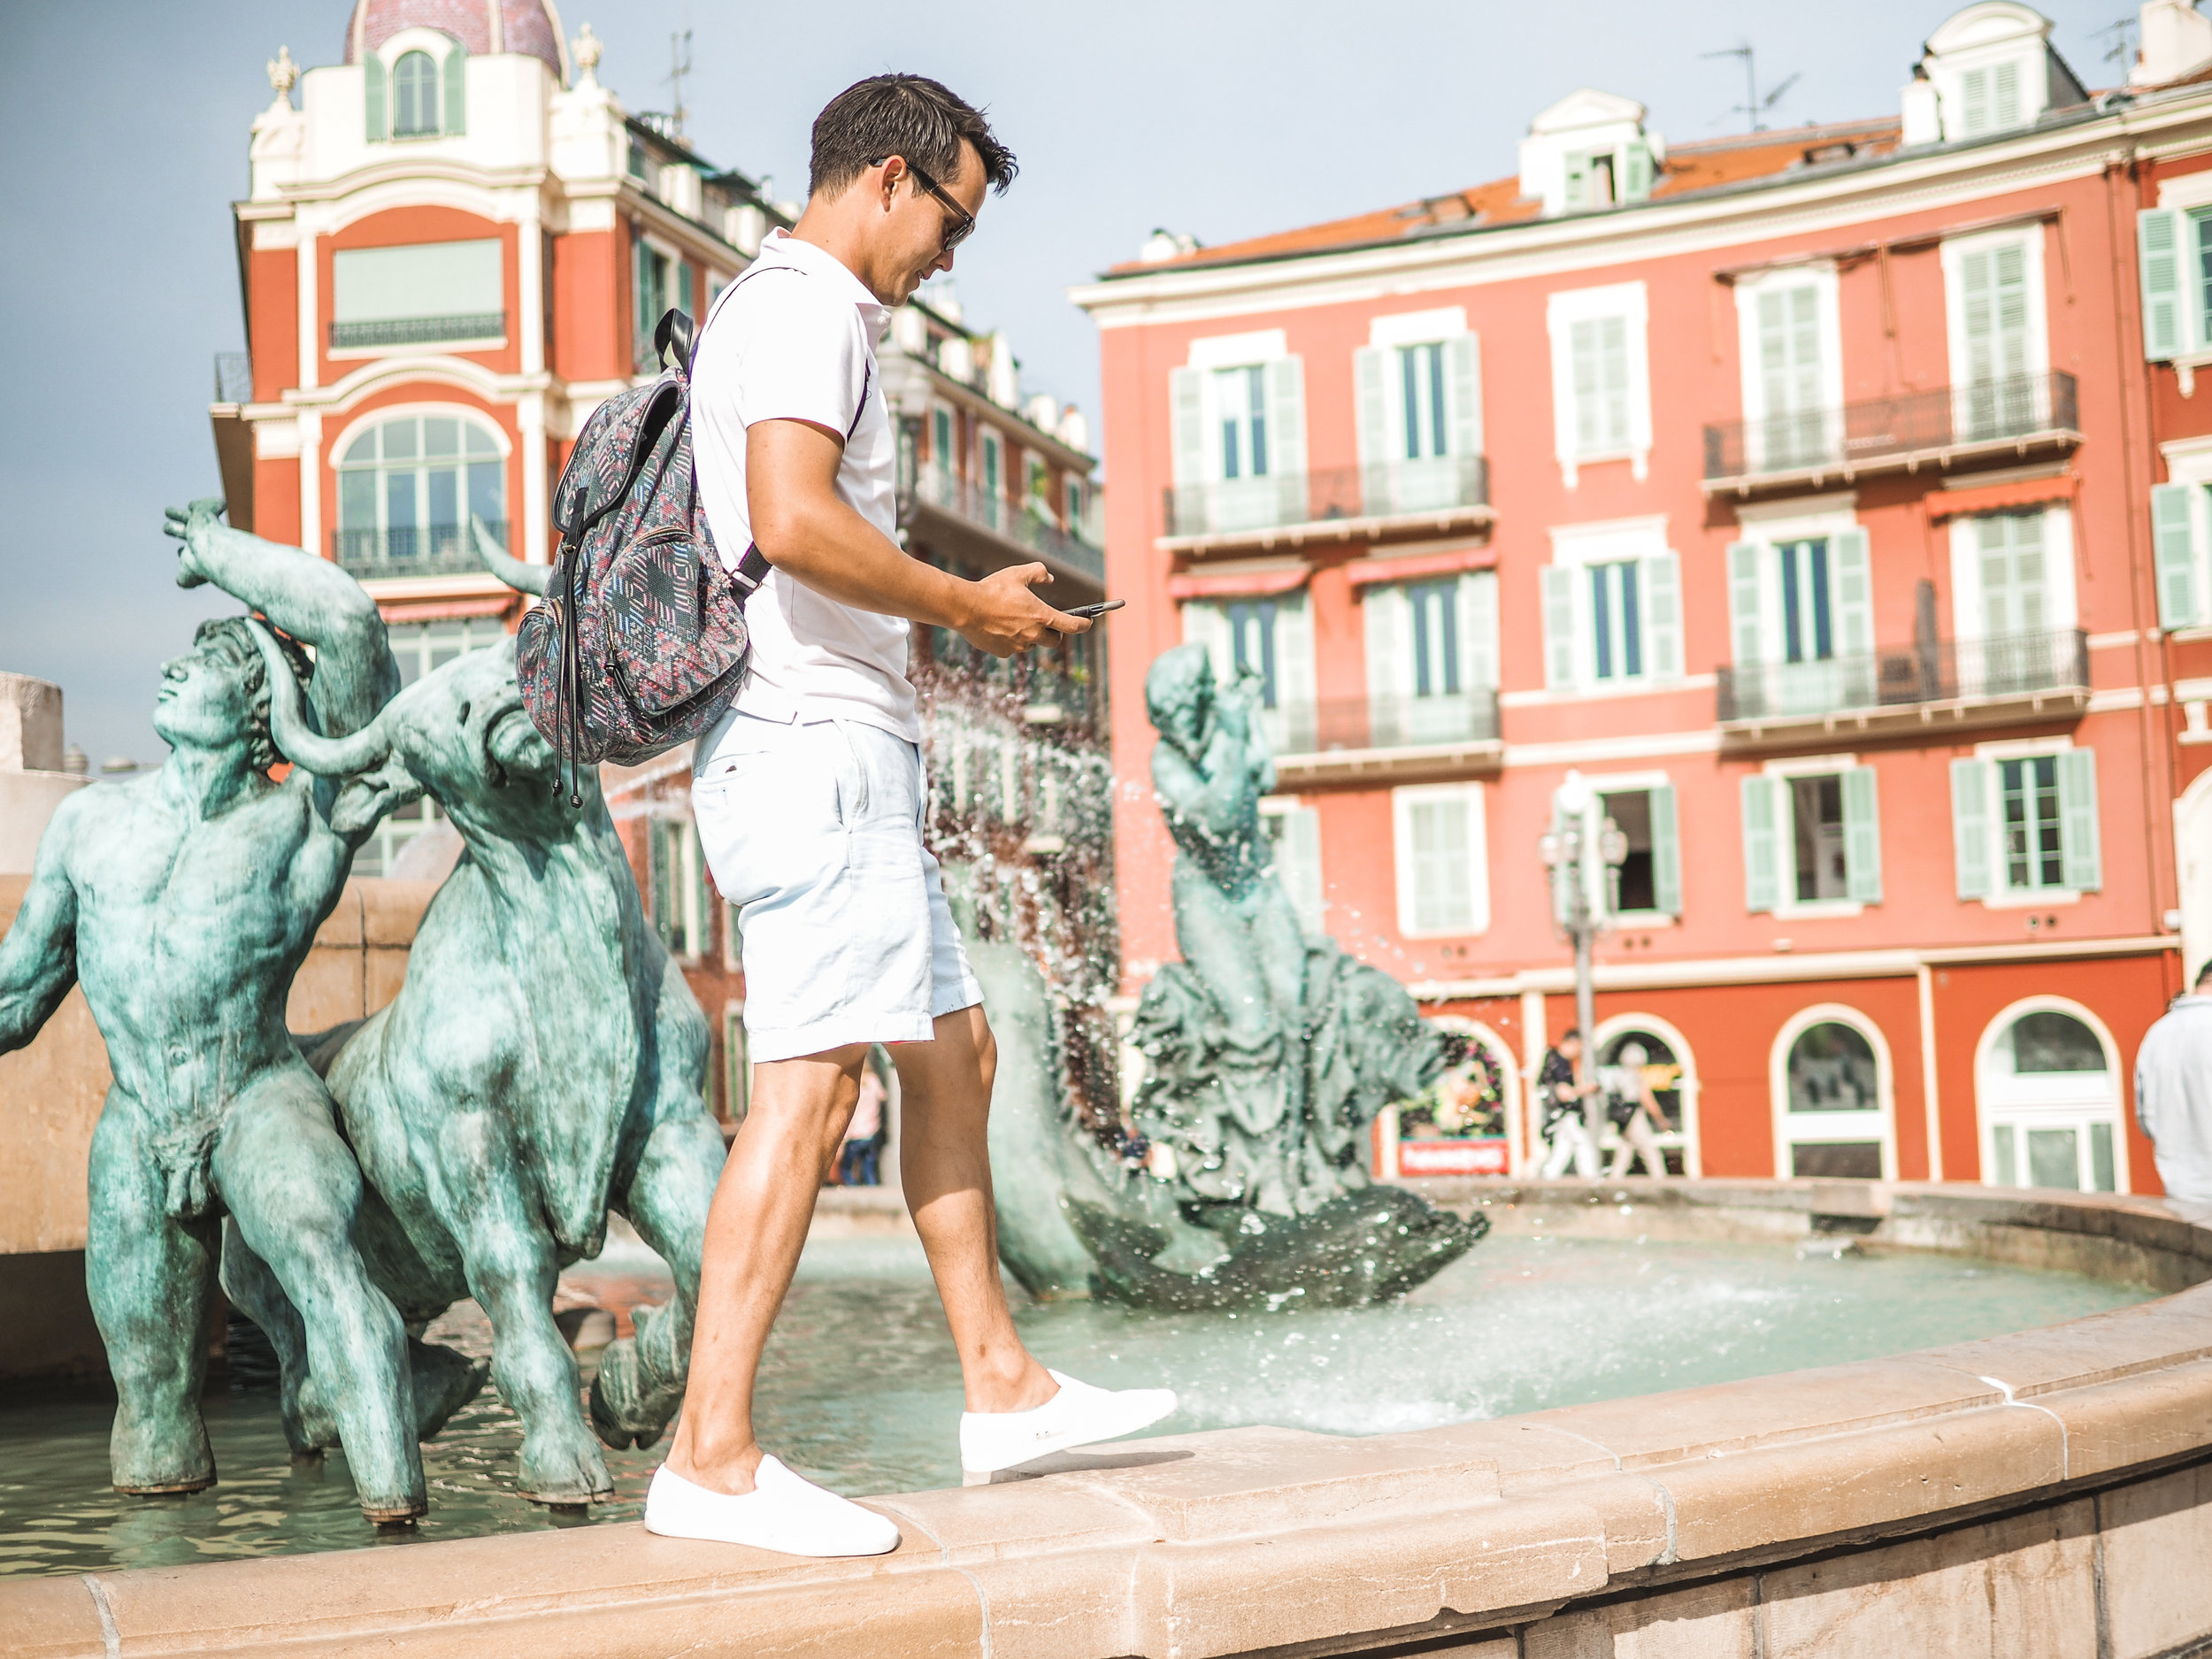
Fisheye (wide angle) lens
This lens is fun to use to capture a wide field of view, such as this photo where we were able to capture the entire corner of Doge's Palace in Venice.
A note on Kit Lenses
While it may be tempting to buy your new camera with a kit lens because it looks like you’re saving money, but in reality, it’s not worth it. The kit lens will likely not provide you with the quality shots you want and tends to not hold it’s value on it’s own if you try to sell it. Our suggestion is to buy the body only and then invest in a great 35mm or 50mm fixed lens that will allow you to get the shots you want and force you to move into a position to get the shots you’re looking for. Kit lenses allow us to be lazy and become too reliant on zooms instead of moving our feet into position, just skip it altogether and save yourself.
Where to buy
While I would encourage buying used camera bodies and lenses from eBay, warm connections or reputable sources, I know that’s not always going to be the case for everyone so here’s a few recommendations for buying new.
Adorama (http://www.adorama.com) - This is a great all-in-one camera store with everything you could want or need under the sun. They also run sales quite often and offer an Amazon Prime-like ‘VIP360’ program that offers 2-day shipping for about $50/yr.
B&H Photo, Video and Pro Audio (https://www.bhphotovideo.com) - Similar to Adorama, this is a one-stop shop for all things photo, video and audio. They bill themselves as the ‘professional’s source’ and have a very reliable reputation. They also give very good equipment overviews and garner quality customer feedback on specific items one may be looking for.
Amazon (https://www.amazon.com) - I think it goes without saying that Amazon carries just about everything under the sun, and it’s a particularly good option if you’re a $50/year Amazon Prime subscriber. Amazon tends to have solid customer service and reliable shipping if fulfilled by then and, to date, I haven’t had any camera gear arrive damaged or not-as-described.
Favorite Gear and accessories
In addition to the MOST important and necessary parts (cameras+lenses) to shooting photos, we also have an arsenal of extras that come in handy and we would recommend if you are really getting into it.
Camera Strap
Definitely not necessary, but a nice-to have. Meg got me a personalized leather strap like this one for my birthday one year, and its great - it is more comfortable on the shoulder and now the camera looks and feels more like my own rather than a stock camera straight out of the box.
Tripod
We mostly use a tripod when we need to capture a photo of us together when no one else is around to shoot it for us. (this is when that bluetooth function really comes in handy!) but also is key when we want to shoot any videos as well. And Meg uses it quite a bit on her own when we are not together and she needs to shoot something without me. We have this one, which is one of the cheaper options you can buy and it's all we need - sturdy, durable, and folds up pretty nicely to be able to toss in a backpack on the go.
Gorillapod Tripod
These tripods are much smaller and designed to be able to wrap around different surfaces with its three flexible arms. We have one that is sturdy and safe enough to attach your camera, but also has an attachment that allows you to attach your smartphone as well. We mostly have used this for capturing time-lapse videos on our iPhones hands free, or Meg uses this to film workout clips both at the gym or at home.
SD Cards
We currently have several 64 GB SD cards that allow us to take a ton of photos at a time without having to worry about running out of room. We were able to take about a week worth of photos on our trip to Europe last summer on one card without having to unload and delete everything (and that was when we were constantly snapping from morning to night!) A 64 GB card will hold around 11,000 photos.
External Hard Drive
We have two external hard drives currently - one 3 TB (3,000 GB) that we use to backup everything, and this 1 TB drive that stores the last year or so of photos before we transfer it all over to the 3 TB Hard Drive. The 1 TB drive is easy to take along with us on trips as it is about the size of a deck of cards. I DO recommend you get a case for it if you plan on taking it anywhere besides just your desktop since all your precious photos are safely stored and you wouldn’t want to lose all those files if anything were to happen to it! We have this one for our 1TB hard drive that cost us less than 10$.
Okay! so there you have it!... I could go on for days and still not touch on EVERYTHING, so hoping that provides enough information to get you started. Next week we will be moving onto the next topic: photo composition and how to take a better photo. So we will see you back here next week!